
Introduction: Squid Proxy
Configuring Squid Proxy on Ubuntu 20.04 is a straightforward process that can enhance your network’s performance and security. Begin by installing Squid with the command sudo apt-get install squid. Once installed, you can modify the Squid configuration file located at /etc/squid/squid.conf. This file allows you to set access control rules, cache settings, and network permissions. After making your adjustments, restart the Squid service with sudo systemctl restart squid to apply the changes. To ensure proper functionality, check the Squid status using sudo systemctl status squid. Properly configuring Squid Proxy can significantly improve your network’s efficiency and browsing experience.
Squid Proxy is a Linux-based application. This is a full-featured caching proxy supporting popular network protocols like HTTP, HTTPS, FTP, and more.
How to set up a Squid Proxy on Ubuntu 20.04
Now, let’s start with installing and configuring a squid proxy server on Ubuntu 20.04.
- Update the repository and install the required packages.
apt update -y
apt install vim screen curl net-tools -y
- install squid service
apt -y install squid
Squid service have installed succesfully you can check the status with the following command
systemctl status squid
you can manage the squid service with the following command.
systemctl start squid
systemctl stop squid
systemctl restart squid
- Enable squid service so it’s run automatically after reboot
systemctl enable squid
- If you want to disable the service then you can use this command
systemctl disable squid
- now we are going to edit squid.conf so first take a backup for security
cp -rp /etc/squid/squid.conf /etc/squid/squid.conf-bkp
- Open squid.conf file with your favorite editor
vim /etc/squid/squid.conf
- Edit http_port with your choice, the default port is 3128
http_port 31428
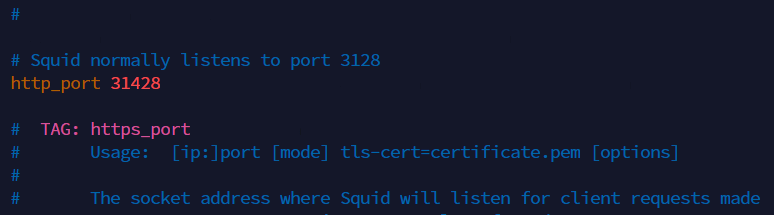
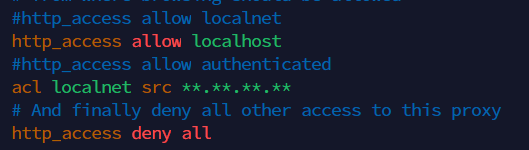
Then search “http_access deny all” words for doings depends to expected result. If you want to everyone access just set this to “allow all“.
http_access deny all

Add Squid ACL
acl localnet src <server ip>
:wq! (save file)
Securing user authorization
- Install necessary tools
apt install apache2-utils -y
- create user authantication with following command
htpasswd -c /etc/squid/passwords testsquid
here testsquid is a user and passwords is a file there stores user authantication
- now configure user details in squid.conf file
- open squid.conf file then add following lines
vim /etc/squid/squid.conf
auth_param basic program /usr/lib/squid3/basic_ncsa_auth /etc/squid/passwords
auth_param basic realm proxy
acl authenticated proxy_auth REQUIRED
http_access allow authenticated

- then save and close the file
:wq! (save file)
- sestart squid service
systemctl restart squid
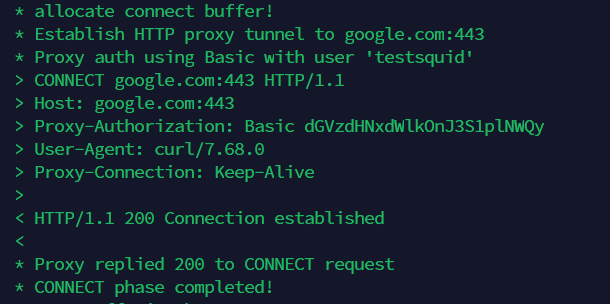
- test your setup with following command
curl -v -x http://testsquid:<squid-password>@<your-ip>:31428 https://google.com
Now you can see you are connected properly
Client setup
Now you are going to setup squid client in browser
go to crome then click on three don in right corner
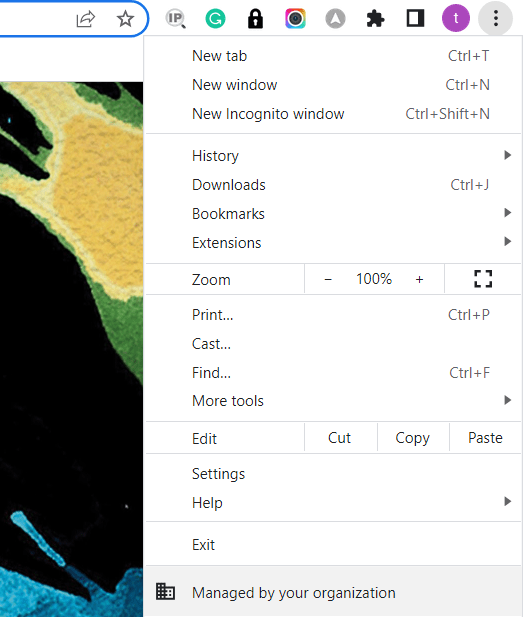
- Then go to Settings
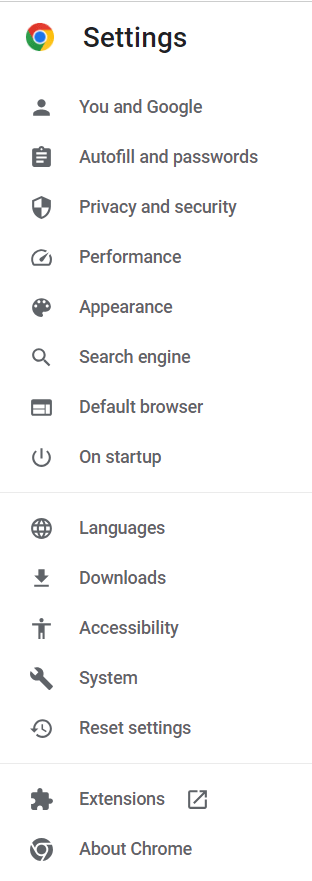
- Goto System and click on open your computer’s settings
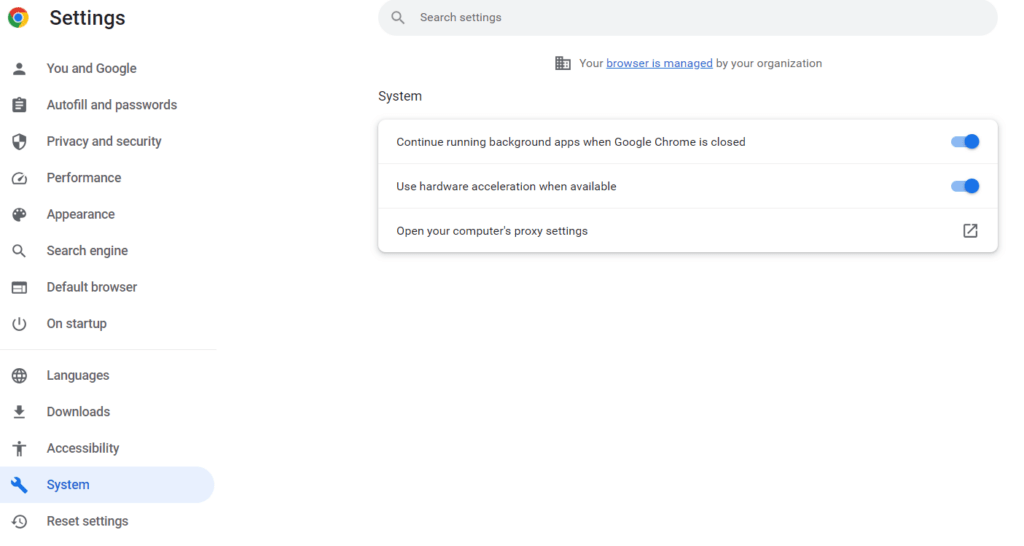
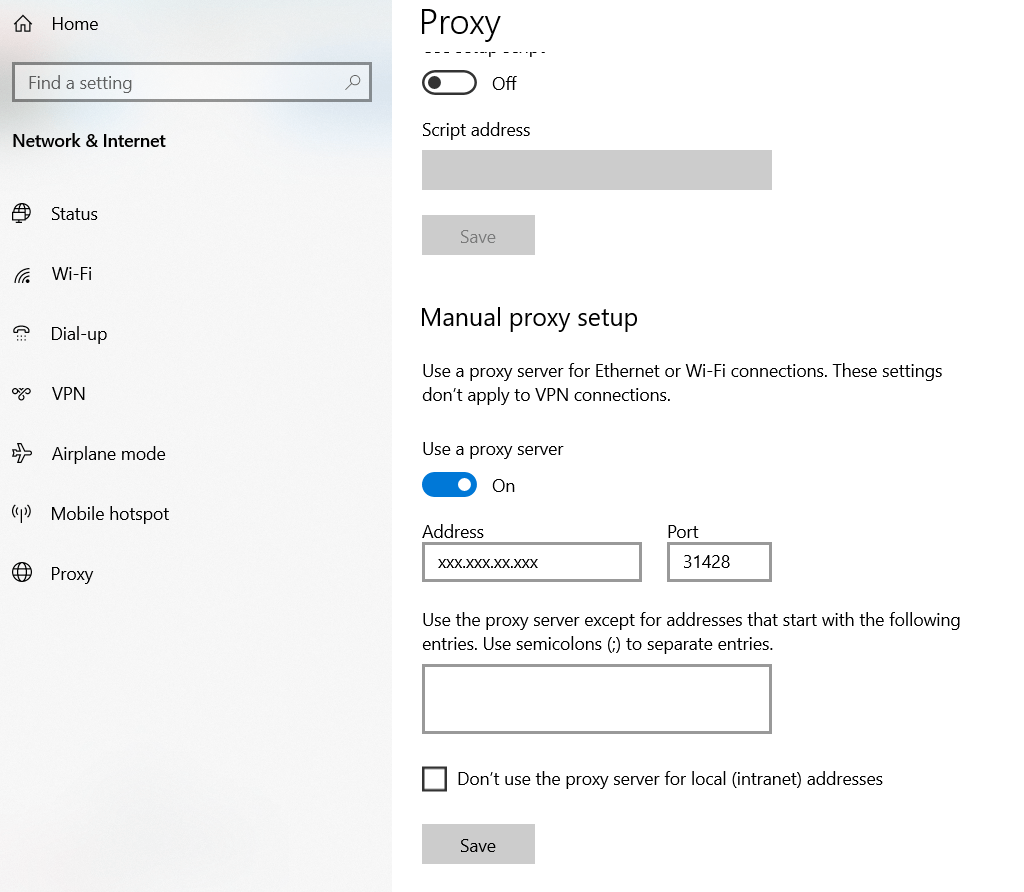
- Go to Manual proxy setup then enable Use a proxy server and fill your server ip and port then click on save bottun.
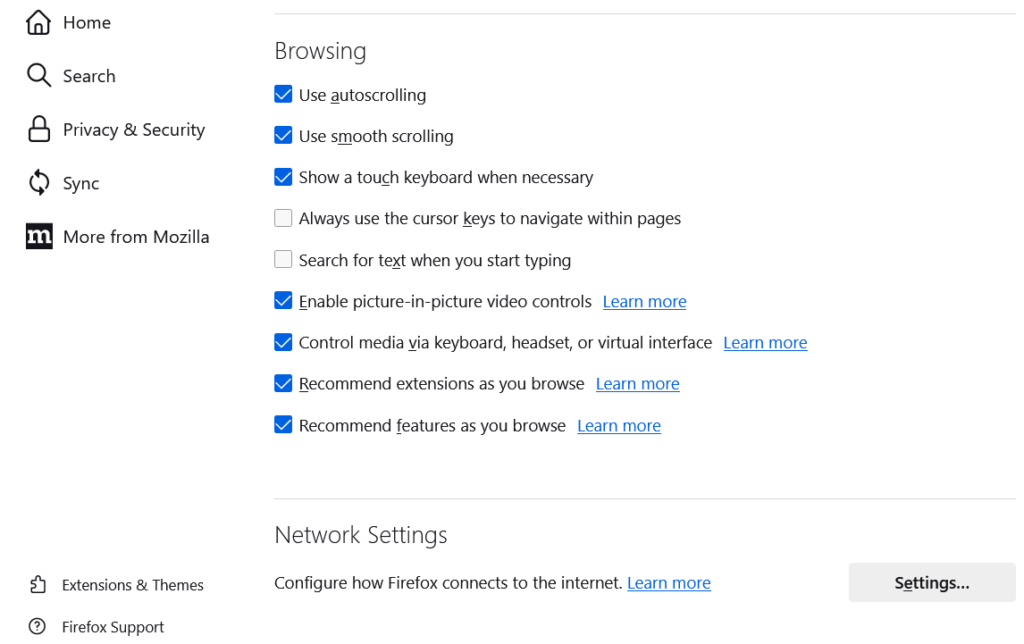
IN FIREFOX
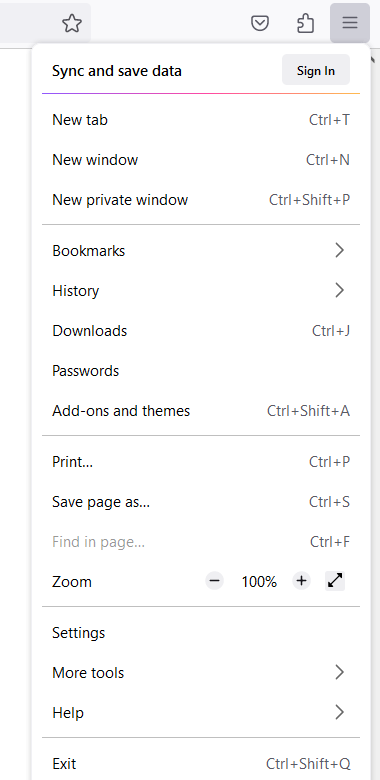
- In the upper right corner, click on the three lines icon ☰ to open Firefox’s menu, then click on Settings
- Scroll down and go to Network Settings then click on Settings
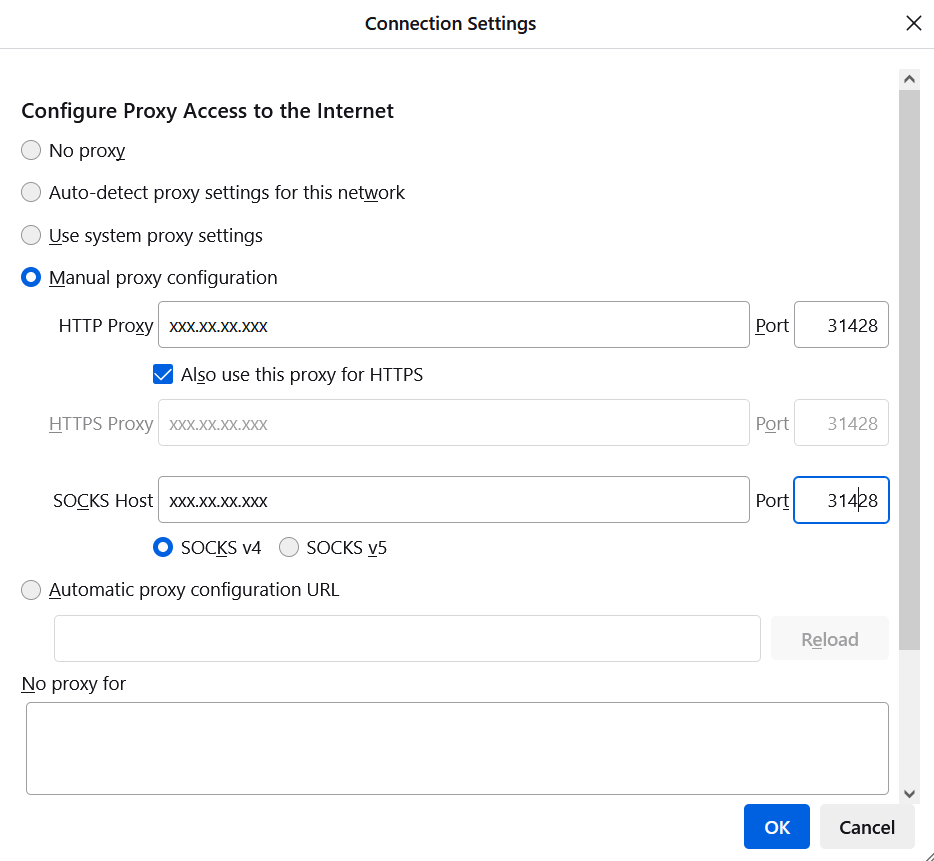
- click on Manual proxy configuration and fill the server ip and proxy port and click on OK
Now your browser is configured with proxy server. If you want to verify, open google.com, type ‘what is my ip’ and you can see your configured ip.
Find Us on Socials