
Setting up an OpenVPN client for Windows is a powerful way to ensure your online activities are secure and private. OpenVPN, an open-source VPN solution, provides robust encryption and a reliable connection to protect your data from prying eyes. Whether you’re looking to access restricted content or safeguard your browsing activities on public networks, configuring OpenVPN on your Windows system is an effective solution. This guide will walk you through the essential steps to install and Setup OpenVPN client for Windows, ensuring you can enjoy a secure and seamless internet experience with minimal hassle.
Downloading and configuring the OpenVPN Connect Client for macOS: Setup OpenVPN client for Windows
- OpenVPN Connect client supports the following Windows.
Windows 10
Windows 8 and 8.1
Windows 7 Service Pack 1
Windows Vista Service Pack 2
- Navigate to the following link to download the client. Click on Download the OpenVPN Connect v3
https://openvpn.net/client-connect-vpn-for-windows/

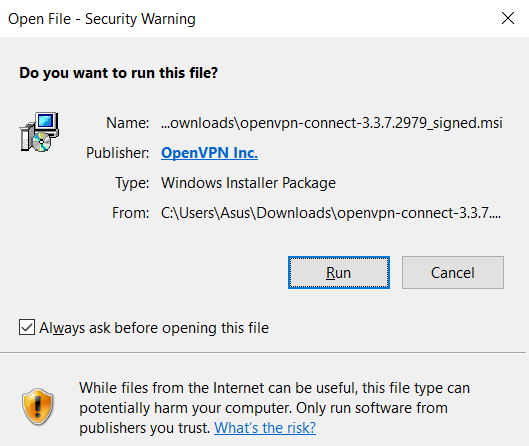
- After downloading, click on the Run button.
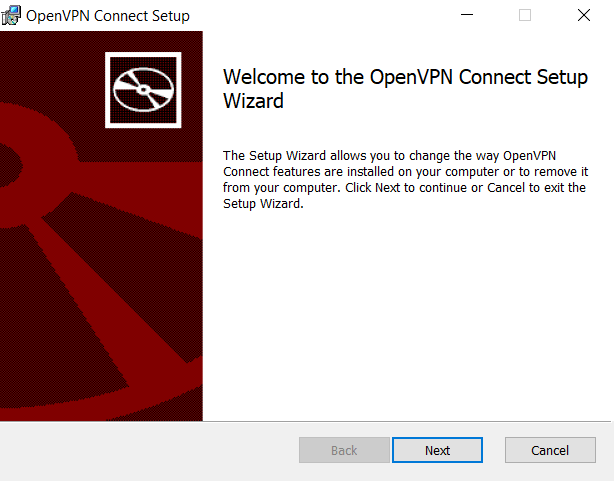
- Click on the Next button.
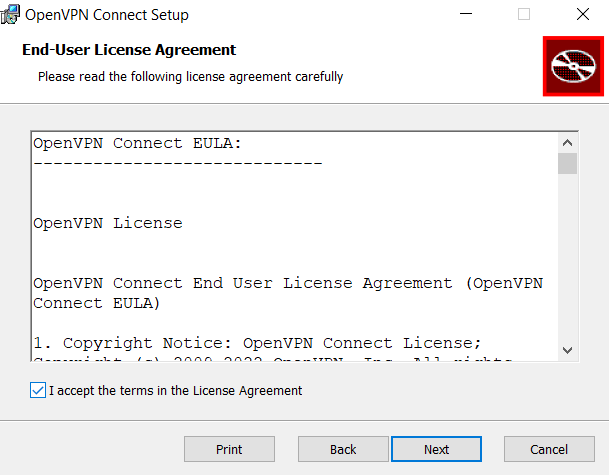
- Fill in the box to accept the Terms and Conditions, and click on the Next button.
A popup will appear on the screen, click on the Yes button to continue.
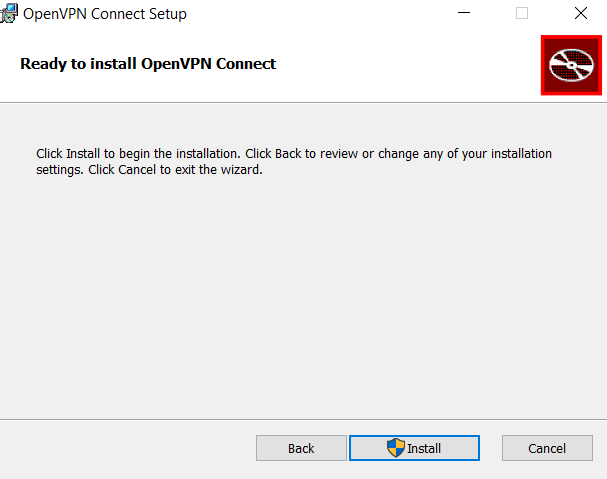
- Click on the Install button to start the installation.
- Click on the Finish button.
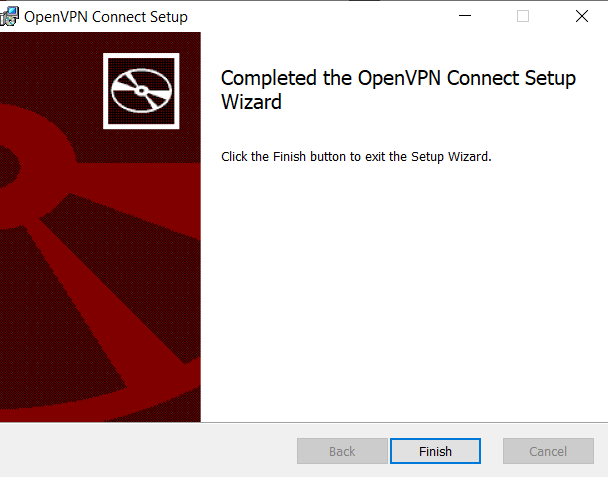
OpenVPN is now successfully installed in the system.
- Click on the OpenVPN icon from the desktop to open the OpenVPN client. After opening OpenVPN, click on the FILE option.

- Click on the BROWSE button.
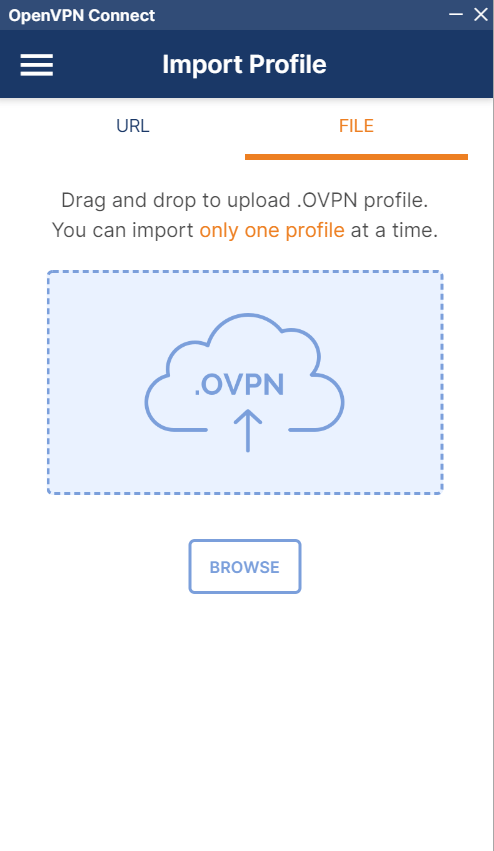
- Browse the .ovpn file and then click on the Open button.

- OpenVPN will import the Profile from the file which you have selected. Click on the Save Private Key Password and then click on the Connect button.

Now you are connected to the OpenVPN server.
In conclusion, setting up an OpenVPN client for Windows is a straightforward process that enhances your online security and privacy. By following the steps outlined, you can ensure a secure and encrypted connection to your VPN server, protecting your data from potential threats. Remember to regularly update your OpenVPN client and configuration files to maintain optimal security. Whether for personal use or corporate needs, OpenVPN offers a reliable solution for secure remote access. By implementing these practices, you can enjoy a safer browsing experience and maintain confidentiality in your online activities.
Find Us on Socials