Change Domain name in Virtualmin involves several key steps to ensure a smooth transition. First, log in to your Virtualmin control panel and navigate to the “Server Configuration” section. From there, select “Change Domain Name” and enter the new domain you wish to use. Make sure to update DNS records to reflect the new domain and configure any necessary virtual server settings. Additionally, check that all associated email accounts, databases, and website files are correctly updated to match the new domain. By following these steps, you can efficiently change your domain name while minimizing disruptions to your hosting services.
Change Domain name in Virtualmin
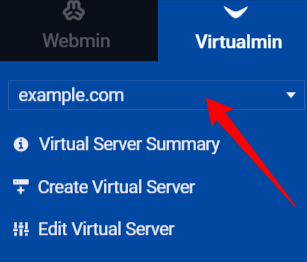
- Go to the Virtualmin panel and login
- Select the domain that you want to change
- Go to server configuration → change the domain name
New domain name = yournewdomain.com
Change administration username = Automatically chosen name (or We can leave it as the old domain or use something new as per our choice)
The same property applies to the next 2 settings as well.
Change home directory = Automatically chosen directory
Change user name suffix and group = Automatically chosen
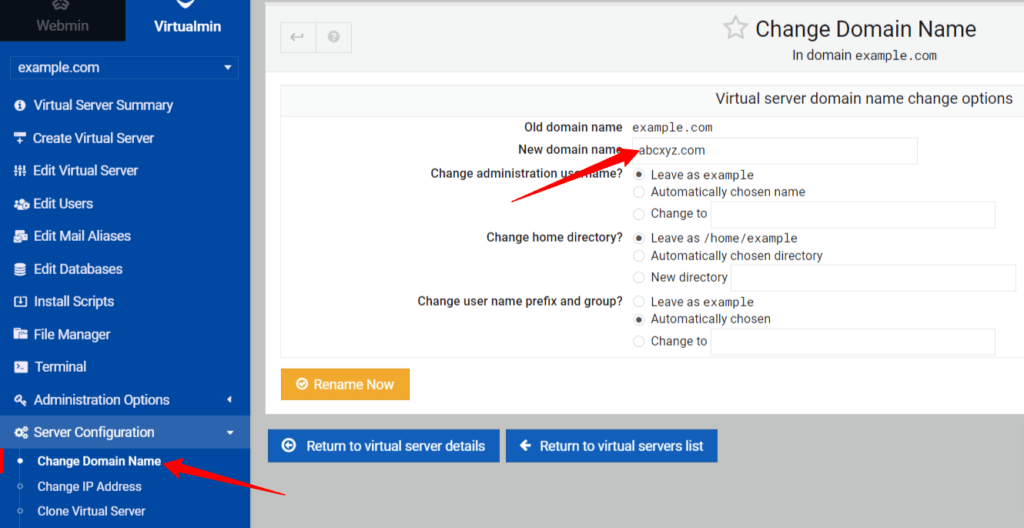
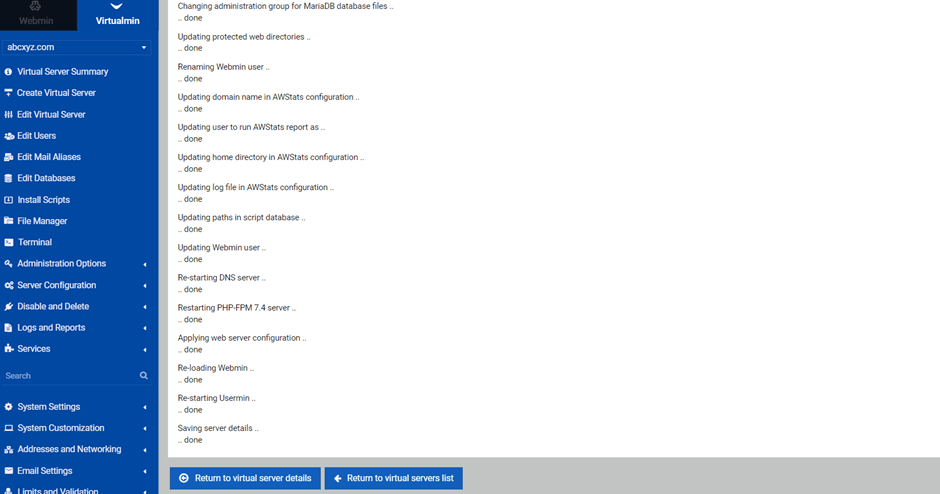
- Then click on Rename now
Find Us on Socials